Design and customize your 3D space
Design, decorate and personalise the internal and external parts of your 3D space with various materials, wallpapers, tints, themes, skyboxes and props
Congratulations on completing Step 1! Now that your layout is set, it’s time to make the space uniquely yours. With Metasteps’ 3D Studio, you have full creative control to personalize every detail—style, colors, materials, and more. Let’s explore how you can transform your space into a captivating and immersive environment.
1. Start with Paint Tools
The Paint Tools tab is where your customization journey begins:
- Materials: Choose a variety of textures, including tiles, wood, marble, and more to cover surfaces, floors, or props. Click once to apply a material, and click again to deactivate the material application tool.
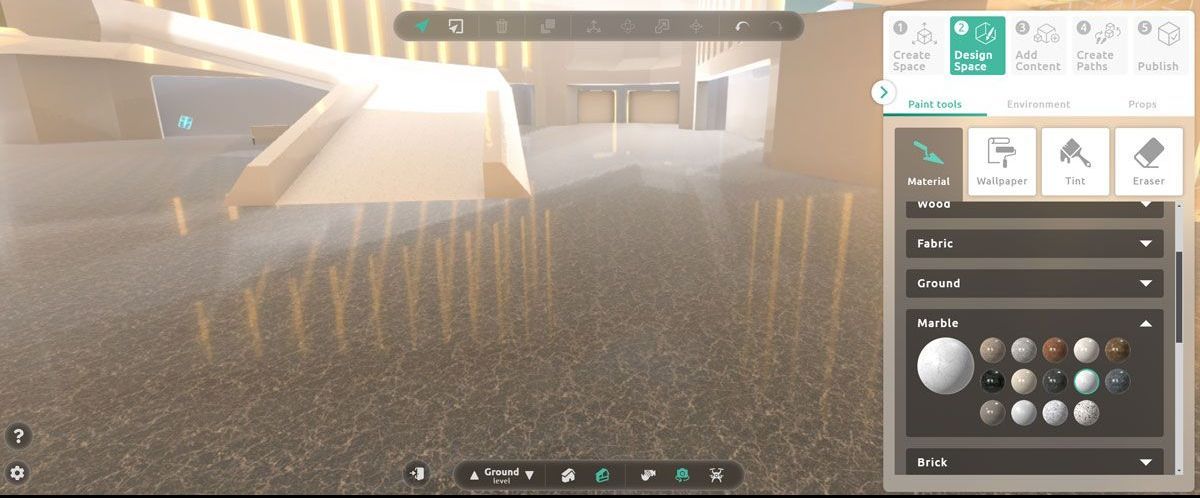
Choose a variety of textures to apply to any surface and/or props
- Custom Wallpaper: Upload your own wallpaper to add a personal touch to any surface.
- Tints: Use the customizable color palette to apply the perfect shades to walls, floors, and objects.
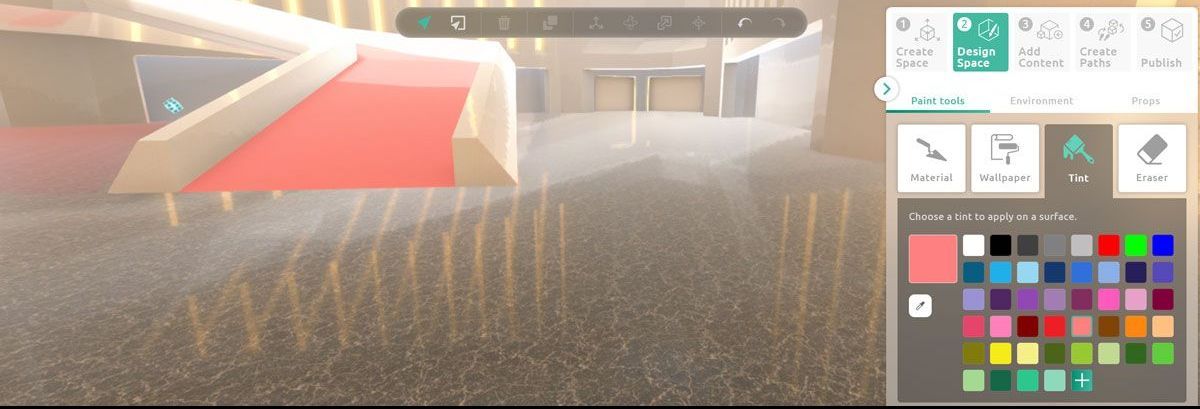
Apply tints to any surface and/or props
- Eraser Tool: Need to remove a material, tint, or wallpaper? Select the Eraser Tool under the Paint Tools tab to clear it from any surface. To delete an object like a wall or door, use the Delete Button on the top toolbar after selecting the item.
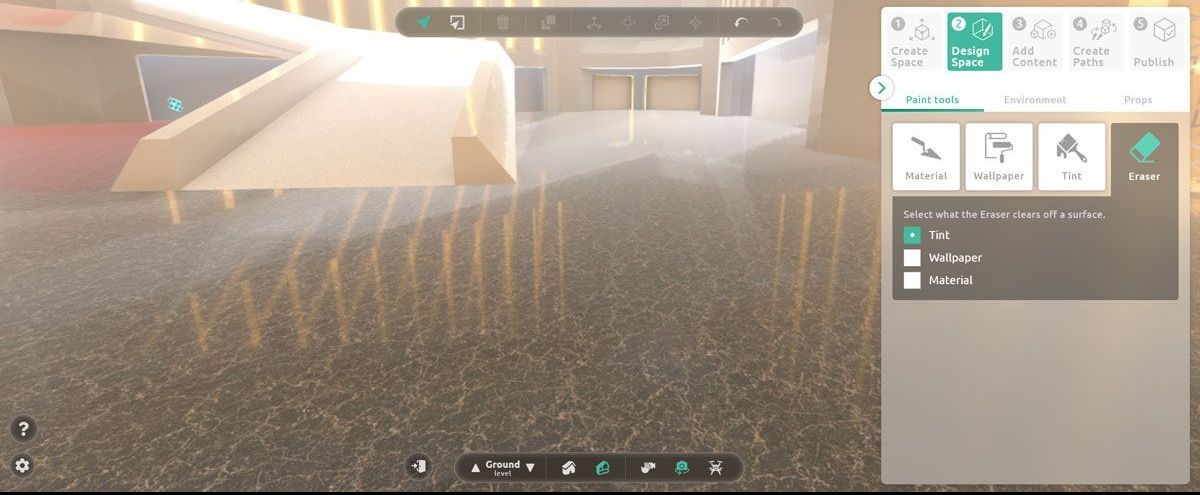
Use the eraser to remove any material, tint or wallpaper
The inspection tool is always accessible when you select a surface or prop with an applied paint tool. Here, you can adjust tiling and offset settings for precise pattern control and texture customization.
- Tiling: Control how many times a texture repeats across a surface. Adjust the horizontal and vertical scaling factors (e.g., a tiling value of 2, 2 repeats the texture twice in both directions). This helps fine-tune the texture’s appearance.
- Offset: Shift the position of a texture to achieve the perfect look. Adjust the horizontal (U) and vertical (V) values (e.g., an offset of 0.5, 0 moves the texture halfway to the right).
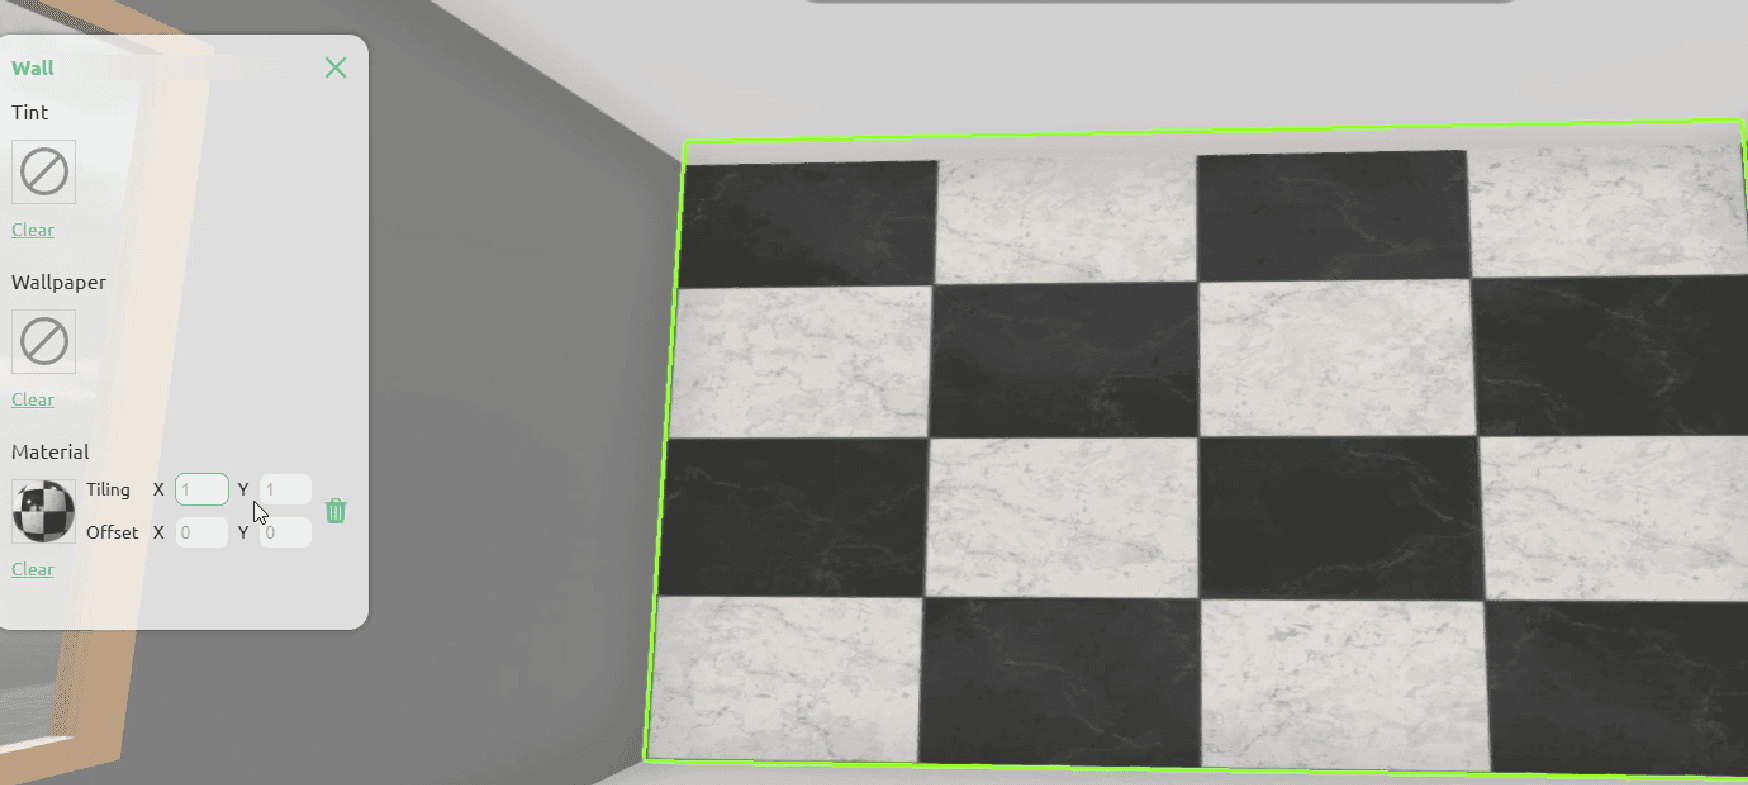
Example 1 of tiling tool: Adjust the tiling to control the texture
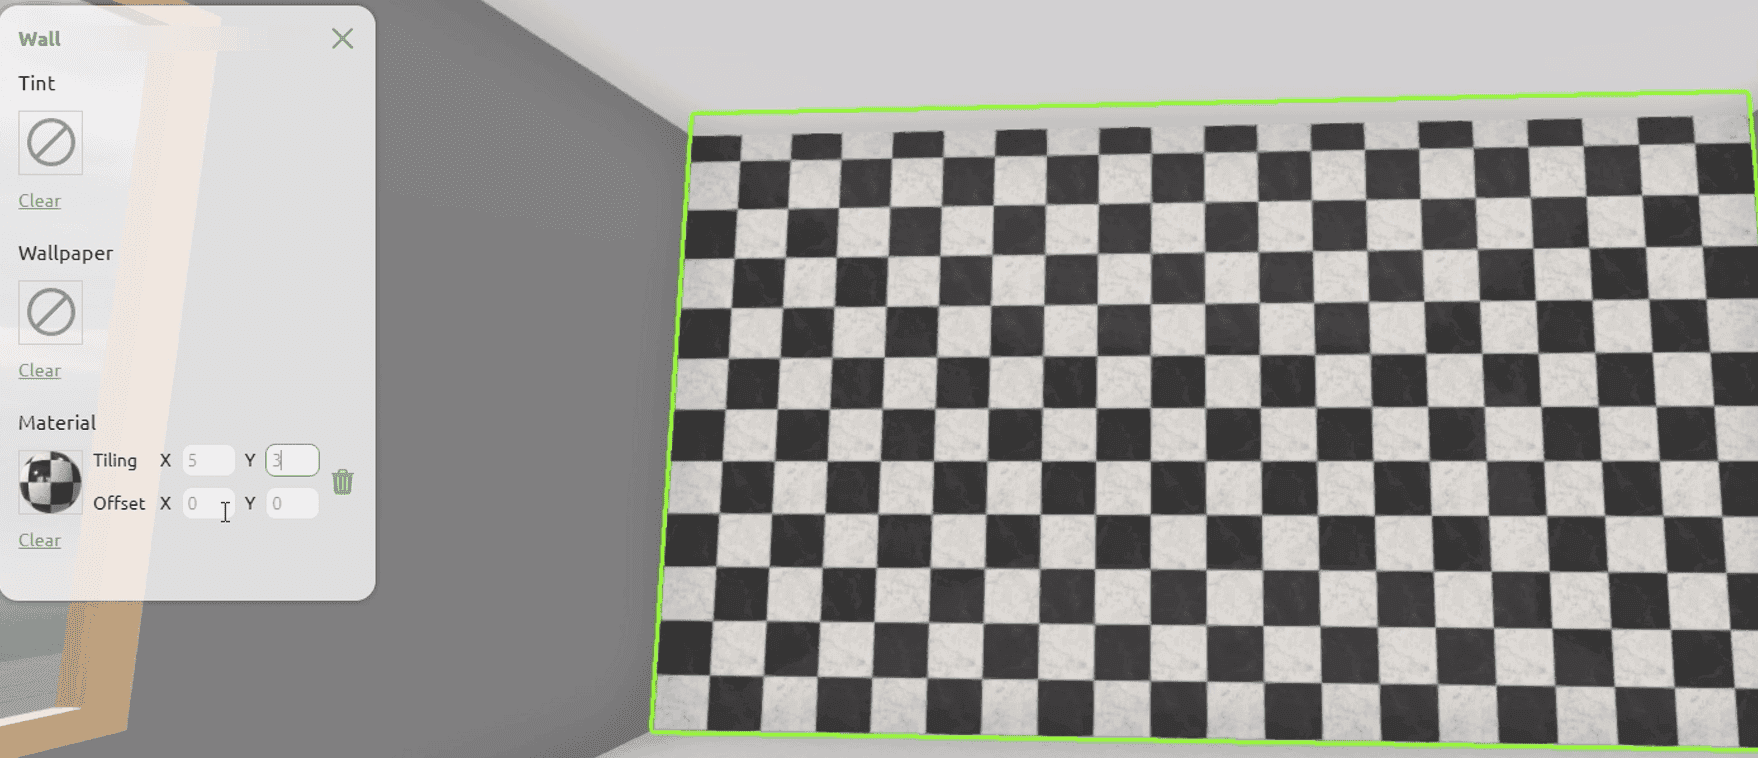
Example 2 of tiling tool: Adjust the tiling to control the texture
Important Note: Opening the same space in more than one browser tab or window can cause synchronization conflicts and may result in lost progress. To ensure your work is saved correctly and avoid potential issues, always edit your space in a single tab or window at a time and remember to save your progress regularly.
2. Set the Mood with Environment Tools
The Environment Tools tab, lets you transform the ambience of your 3D space:
- Skyboxes: Choose from a variety of sky options to set the right atmosphere. Whether you are aiming for a bright sunny day or a moody twilight scene, skyboxes affect both lighting and surface reflections.
- Ambient Music: Add background music to elevate the immersive experience of your virtual world. Select tracks that complement the theme or feel of your space.
3. Decorate with Props
Enhance the atmosphere of your space using our extensive Props Library:
- Options include: Banners, plants, furniture, trees, and more
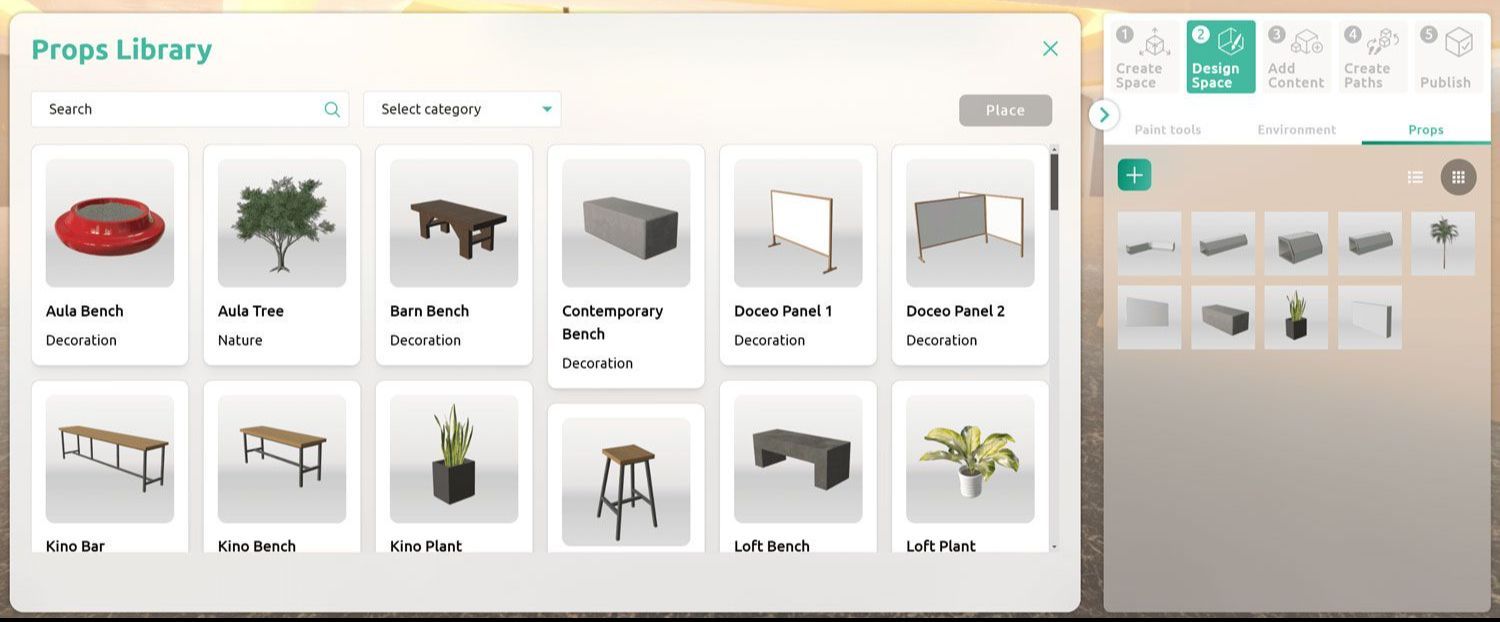
Enhance the atmosphere of your space by using props
- Customization: Resize, recolor, and adjust textures to perfectly match your vision.
We’re continually adding new props to the library, so keep an eye out for exciting updates!
4. Streamline your Designs with Themes
Short on time? Use Themes to effortlessly apply a cohesive look across your entire space in just a few clicks. It’s a quick and effective way to tie everything together with a consistent style.
Note: Themes are applicable only to custom 3D spaces.
Fine-Tune with the Design Toolbar
The Design Toolbar is your go-to tool to help you:
- Remove unwanted items with precision.
- Scale, move, and duplicate elements.
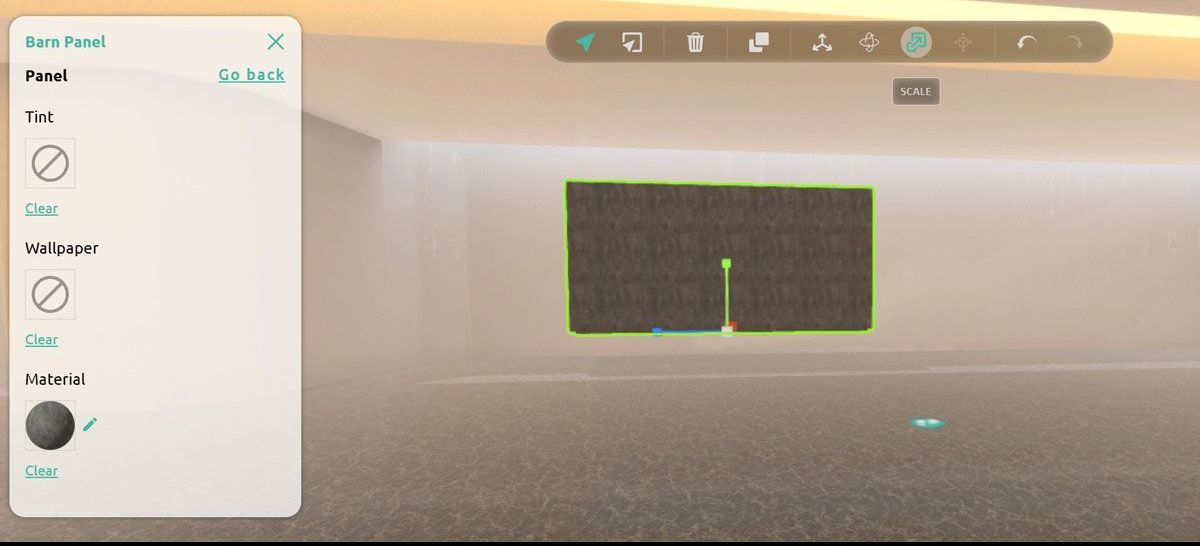
Design toolbar at the top of your 3D scene
For a more in-depth look at the toolbar functionalities, explore our detailed guide here.
Ready to Move On?
Now that your space is designed and customized, you’re ready for step 3 - adding engaging content and interactive elements. Keep experimenting, have fun, and let your creativity shine!