Get familiar with 3D Studio’s toolbars
Discover the powerful and intuitive toolbars that assist you at every step of creating, designing, and content to your virtual spaces.
The 3D Studio on our platform provides a suite of powerful and intuitive tools to assist you at every step of creating, designing, and adding content to your virtual spaces. These tools are designed to enhance the creative process, making it easy to manipulate objects, navigate the space, and achieve the desired design outcomes. Below you will find more details for the top toolbar, which includes general and transformation tools, and the bottom toolbar, which contains entry point, floor selector, view and camera modes.
1. Top toolbar: General & Transformation Tools
The top toolbar is your go-to for managing objects and performing essential actions in your 3D space.
1.1 General Tools
Selection:
- Use this tool to deselect active tools and focus on choosing individual items.
Box Selection:
- Select multiple objects at once.
- Click and drag to form a box over the area you want to select. Selected items are highlighted in purple for easy identification.
- You can scale, move, delete or rotate all selected objects at once.
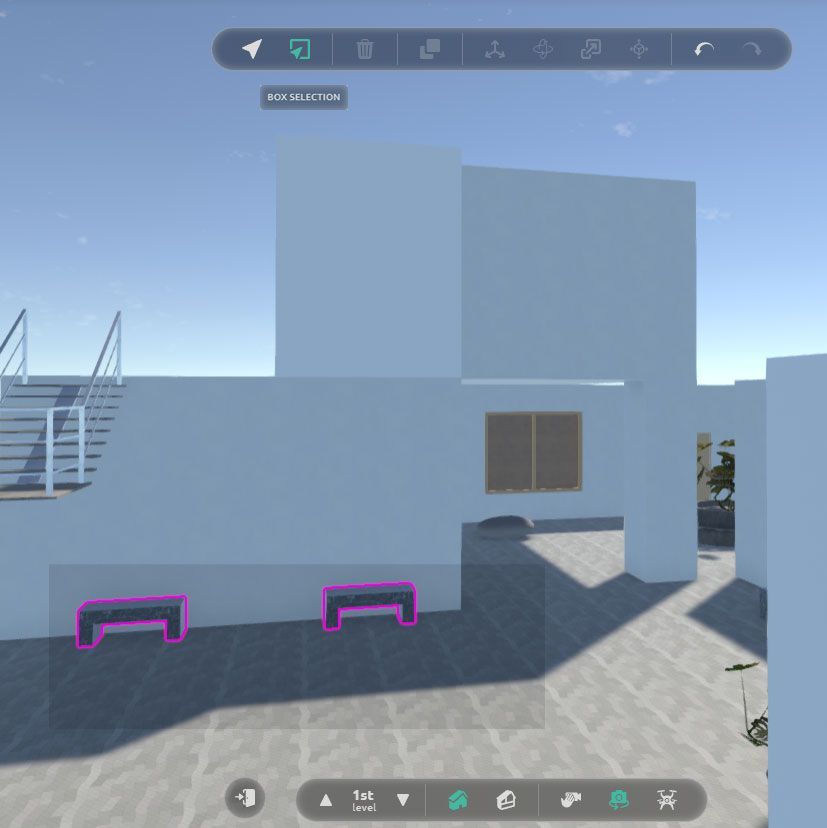
Drag to form a box over the area you want to select multiple objects
Delete:
- Remove unwanted objects with a single click.
- Select the item(s) and click delete to clear up your space.
Duplicate:
- Create copies of selected items.
- After duplicating, move the new object by grabbing one of the boxes and positioning it wherever needed.
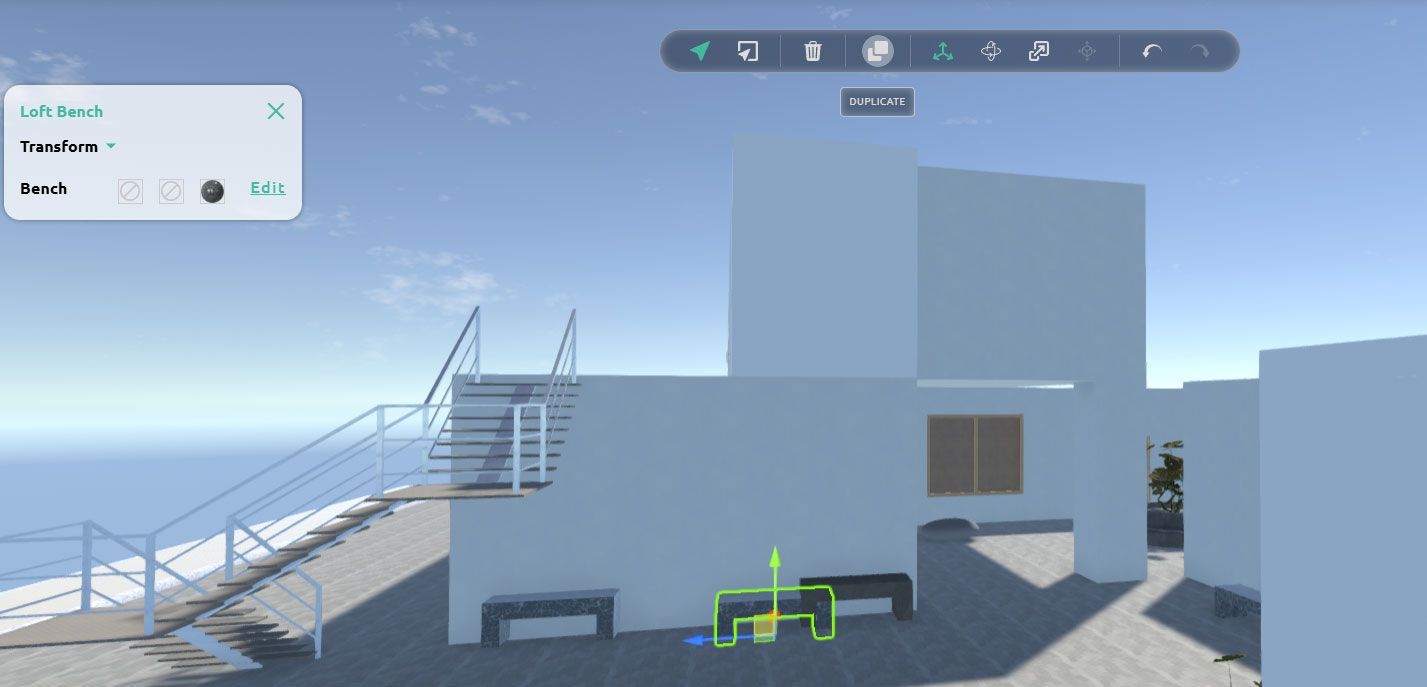
Move the duplicated object by dragging one of the boxes
1.2 Transformation Tools
Move:
- Moves selected objects. This tool ensures precise placement within the 3D scene.
- Click the red, green, or blue arrows to move objects along their respective axes.
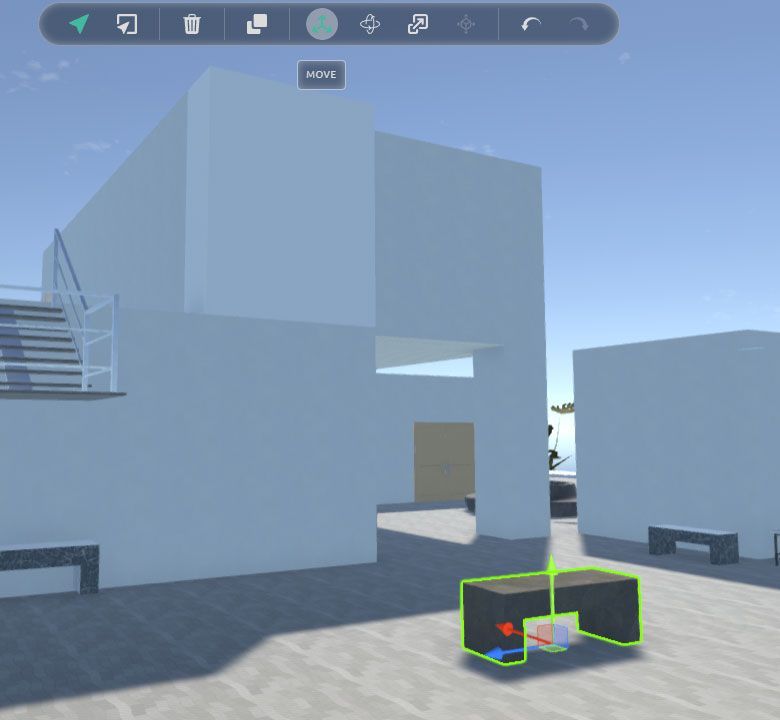
Click one of the arrows to move the object to the direction you want
Rotation:
- Rotates selected objects. This tool is great for aligning items or adding dynamic angles to your design.
- Use the red, green, or blue circular lines to rotate an object in different directions.
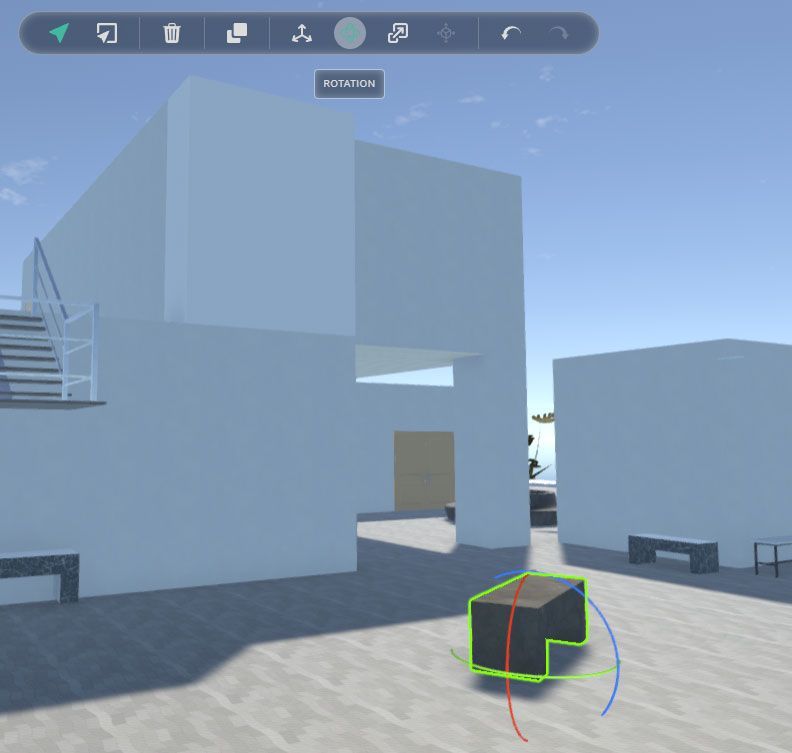
Rotate the object by using the circular lines
Scale:
- Adjust (enlarge or reduce) the size of selected objects to suit the design of your space
- Resize the objects uniformly by dragging the middle scaling box up or down .
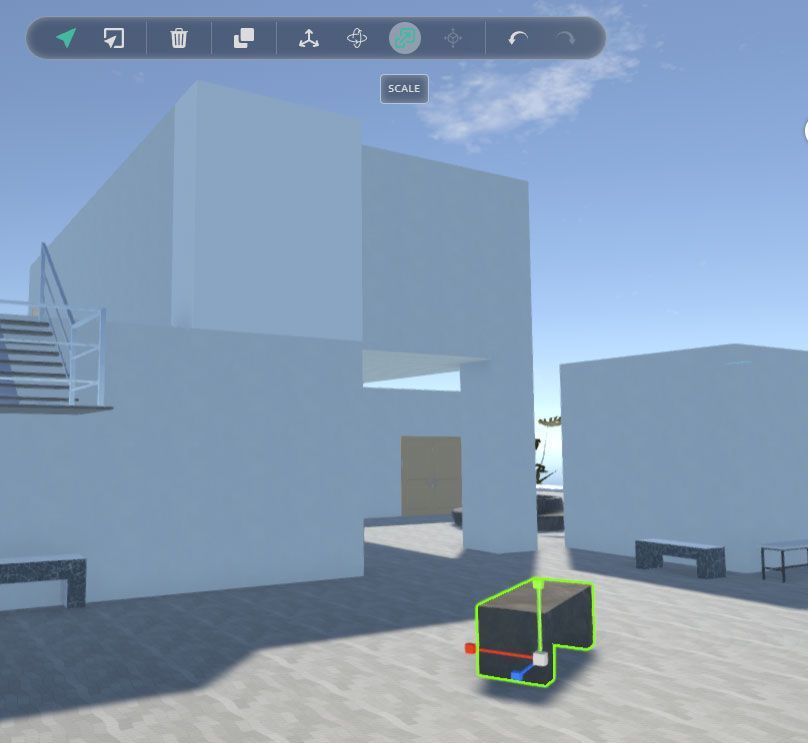
Drag the scaling box up to enlarge the object or down to reduce its size
- Undo: Made a mistake? No problem. Click undo to revert your last action.
- Redo: Changed your mind after undoing? Redo lets you reapply the last undone action.
2. Bottom toolbar: Entry Point, Levels, View & Camera Modes
The bottom toolbar focuses on navigation and perspective, helping you visualize and interact with your 3D space.
2.1 Entry Point
- Define where visitors begin their journey.
- Click and place the entry point in your desired location within the 3D space.
- Ensure the entry point is strategically placed to create a captivating first impression for your audience.
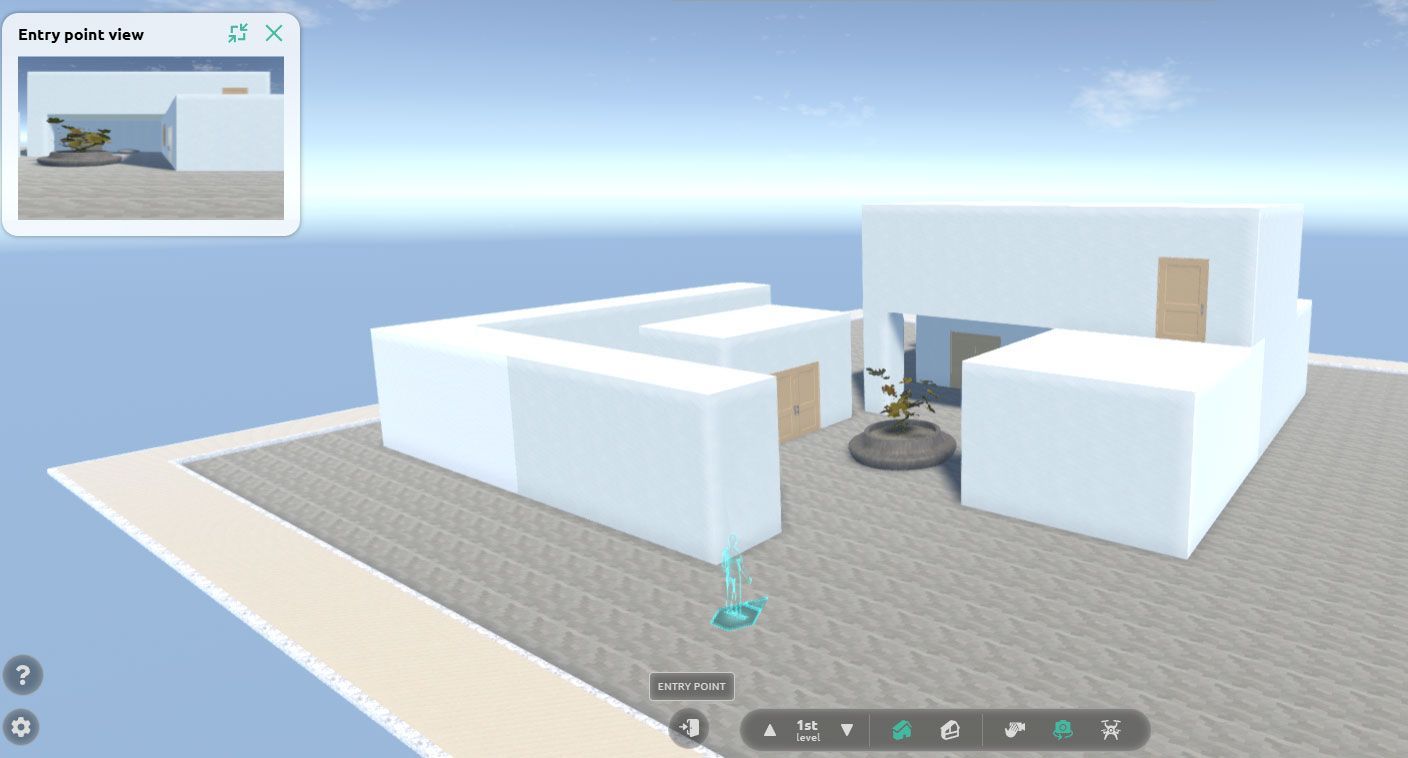
Check the entry point view to make a captivating first impression for your visitors
2.2 Level Selector
- Switch between floors in your space to work on different levels effortlessly.
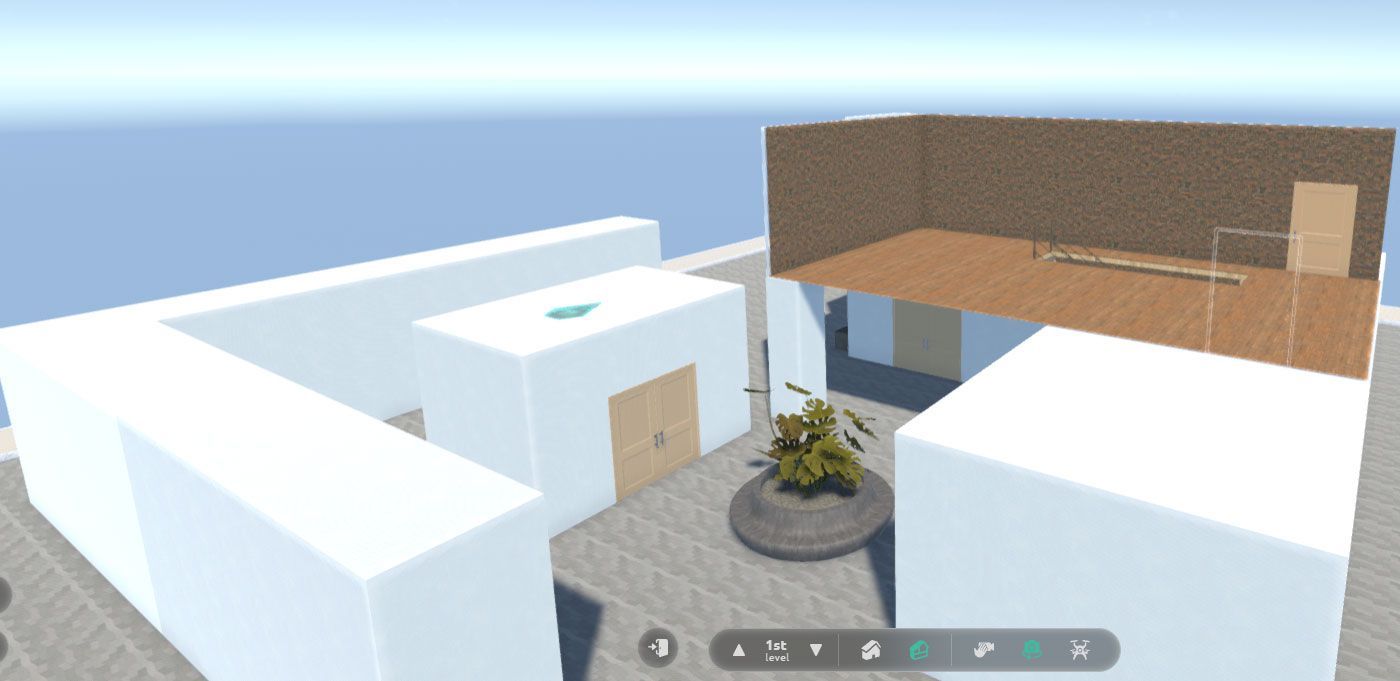
Example of 1st level and interior mode of a 3D space
2.3 View Modes
Exterior Mode: Provides an outside view of your space, showcasing the external surfaces.
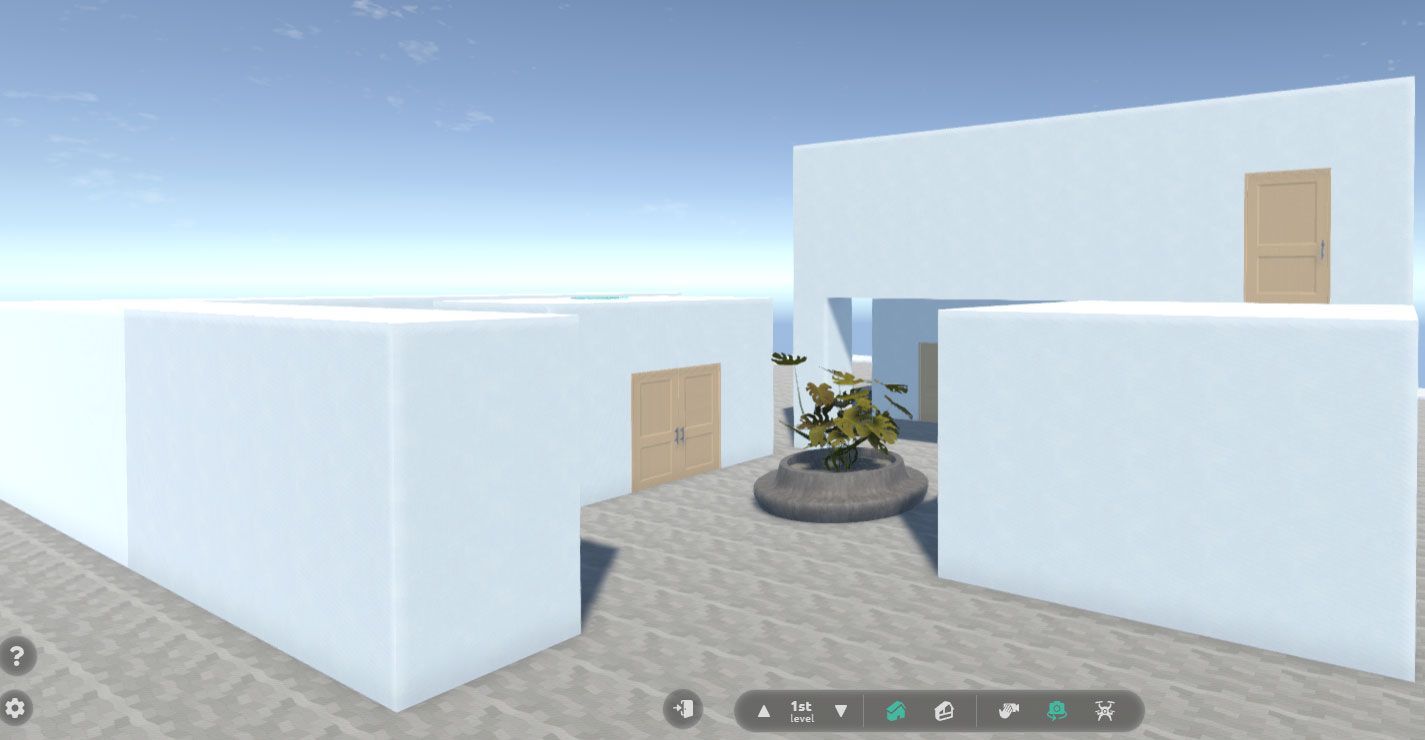
Example of 1st level and exterior mode of a 3D space
Interior Mode: Hides the external surfaces to make interior adjustments easier, ideal for placing objects in internal places (e.g. rooms etc).
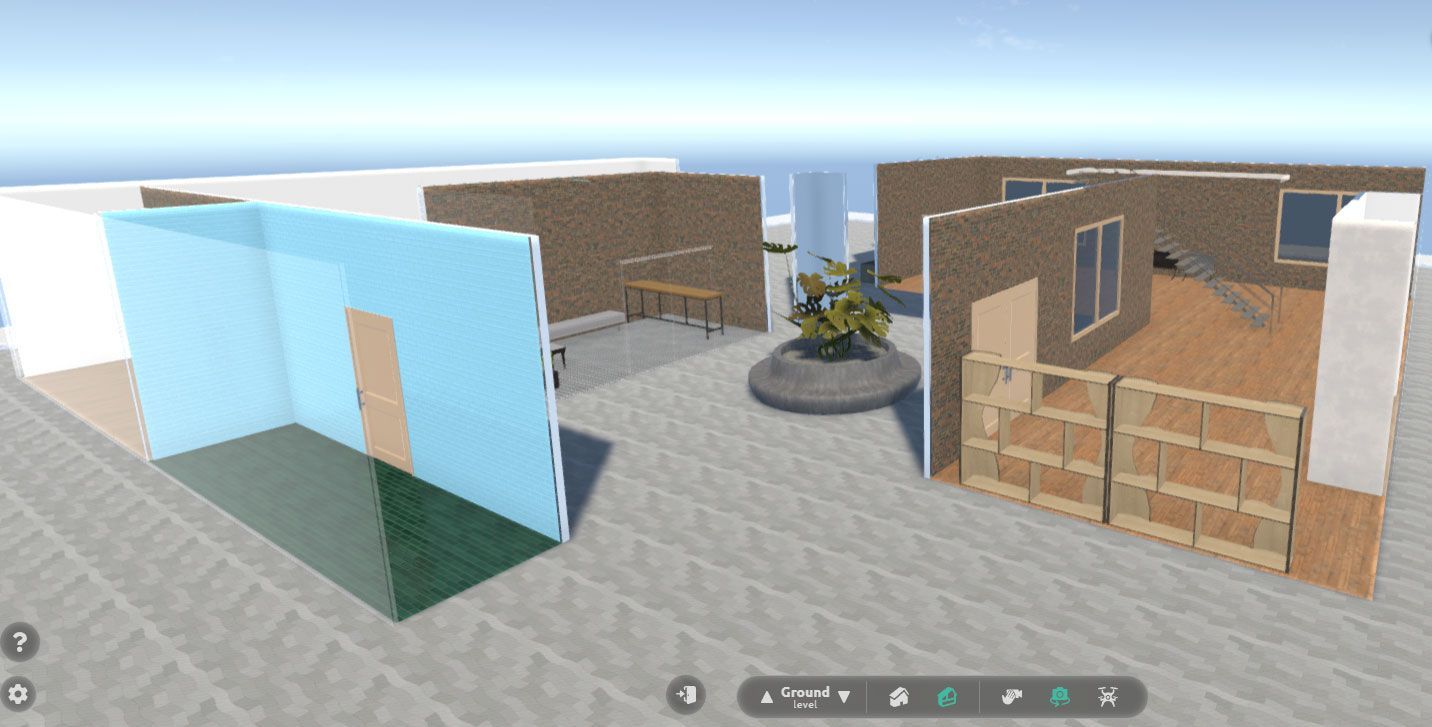
Example of ground level and interior mode of a 3D space
2.4 Camera Modes
Player Camera: Places the camera where the user's eyes would be in the virtual environment.
- Use W-A-S-D or arrow keys to move
- Drag the left mouse button to rotate the camera
- Use Q-E to rotate the camera horizontally accordingly, to the left or right
Orbit Camera: The camera rotates around a fixed point in your 3D scene, which can be moved using the mouse buttons.
- Drag the left mouse button to rotate
- Drag the right mouse button to move to a point
- Use the mouse wheel to zoom in or out
Fly Camera: Offers advanced navigation for free movement within the 3D environment.
- Hold the right mouse button and press W-A-S-D to move around
- Hold left shift to increase movement speed
- Use the mouse wheel to zoom in or out
- Press F to focus on a selected object. While holding the left Alt, drag the right mouse button to rotate around the focused object
Why need to master the toolbars?
Mastering these tools will give you complete control over your projects, from precise object manipulation to immersive navigation. The intuitive design ensures a smooth workflow, allowing you to focus on unleashing your creativity without getting bogged down by technicalities.
Take your time exploring these features, and soon enough, you’ll be designing like a pro in the Metasteps 3D Builder!