Create guided paths
Transform your 3D space into a dynamic storytelling journey with guided paths.
Transform your 3D space into a dynamic storytelling journey with guided storypaths! This feature allows you to craft curated experiences that lead your visitors through your content in an engaging and immersive way. Whether you're showcasing art, training employees, or presenting products, guided paths provide a seamless and personalized exploration tailored to your goals.
1. Get started with Storypaths
- Click the +Path button to get started
- Name your path: give your path a title that reflects its purpose or theme
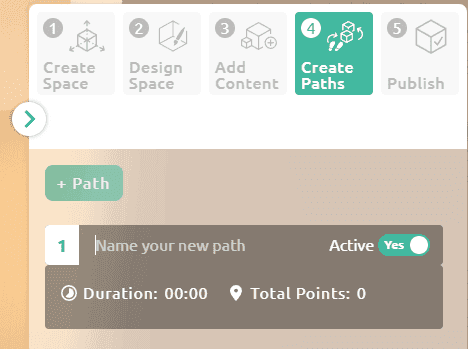
Name your new path
- Create multiple paths for large spaces: If your 3D space has multiple themes, floors, or areas, you can create separate guided paths for each. This ensures visitors can explore different subjects or sections without confusion.
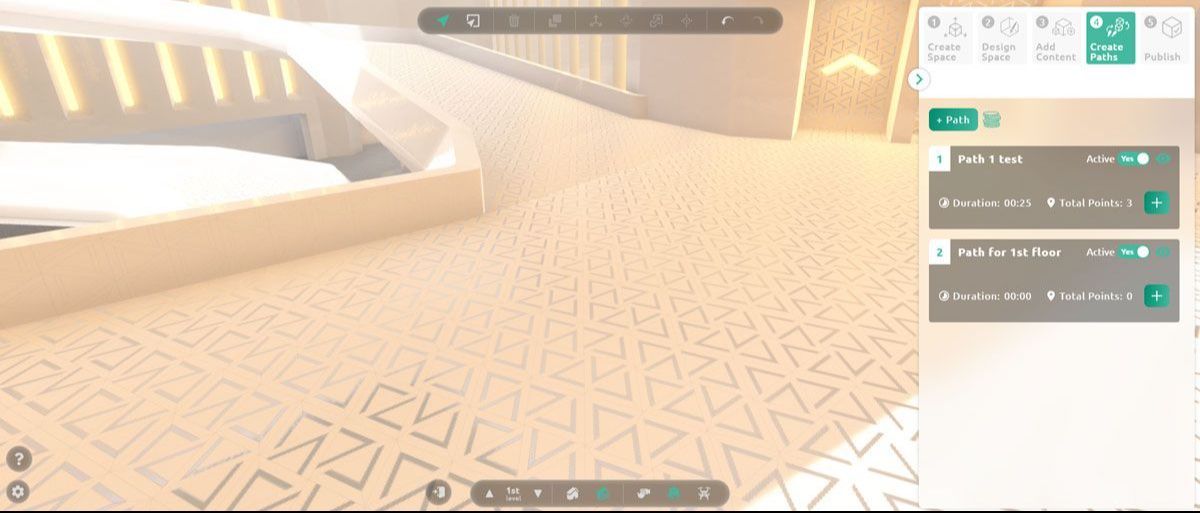
Add more paths for larger spaces or for spaces with more levels
Important Note: Opening the same space in more than one browser tab or window can cause synchronization conflicts and may result in lost progress. To ensure your work is saved correctly and avoid potential issues, always edit your space in a single tab or window at a time and remember to save your progress regularly.
2. Add points for a storytelling experience
Once you name your paths, you can start adding multiple points to each path and begin building the guided journey by editing one point at a time:
- Point Details: Each point can have a unique title, description, and even audio for narration or background music.
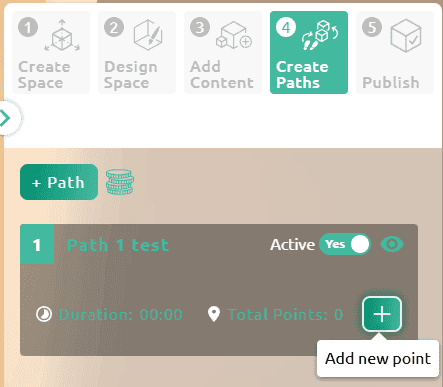
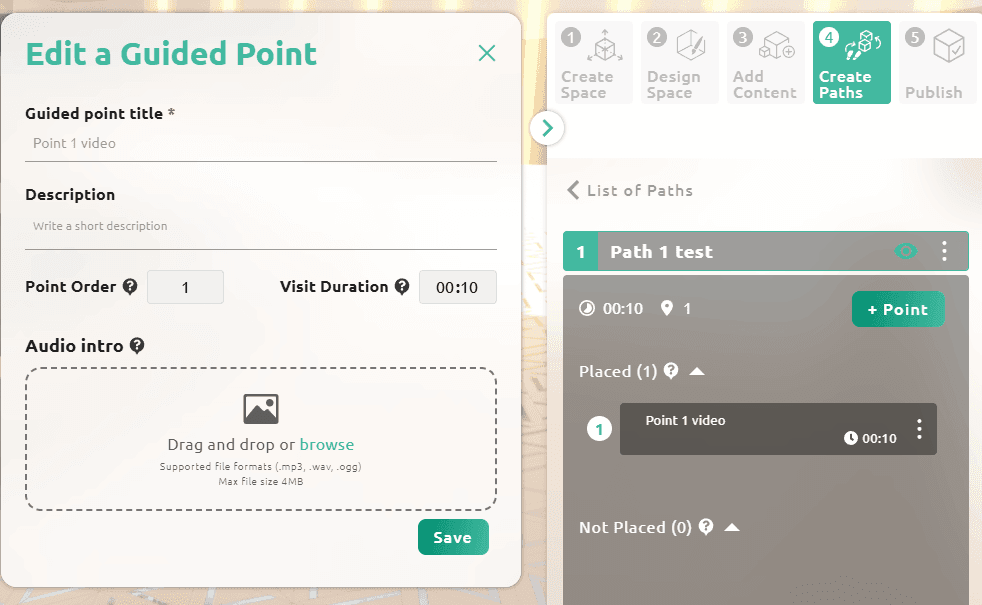
- Duration: Set how long visitors will stay at each point (seconds or minutes).
- Placement: Once the details are ready, click save and drop the point into your 3D space. You can adjust the angle of the view at each point for your visitors by rotating the avatar.
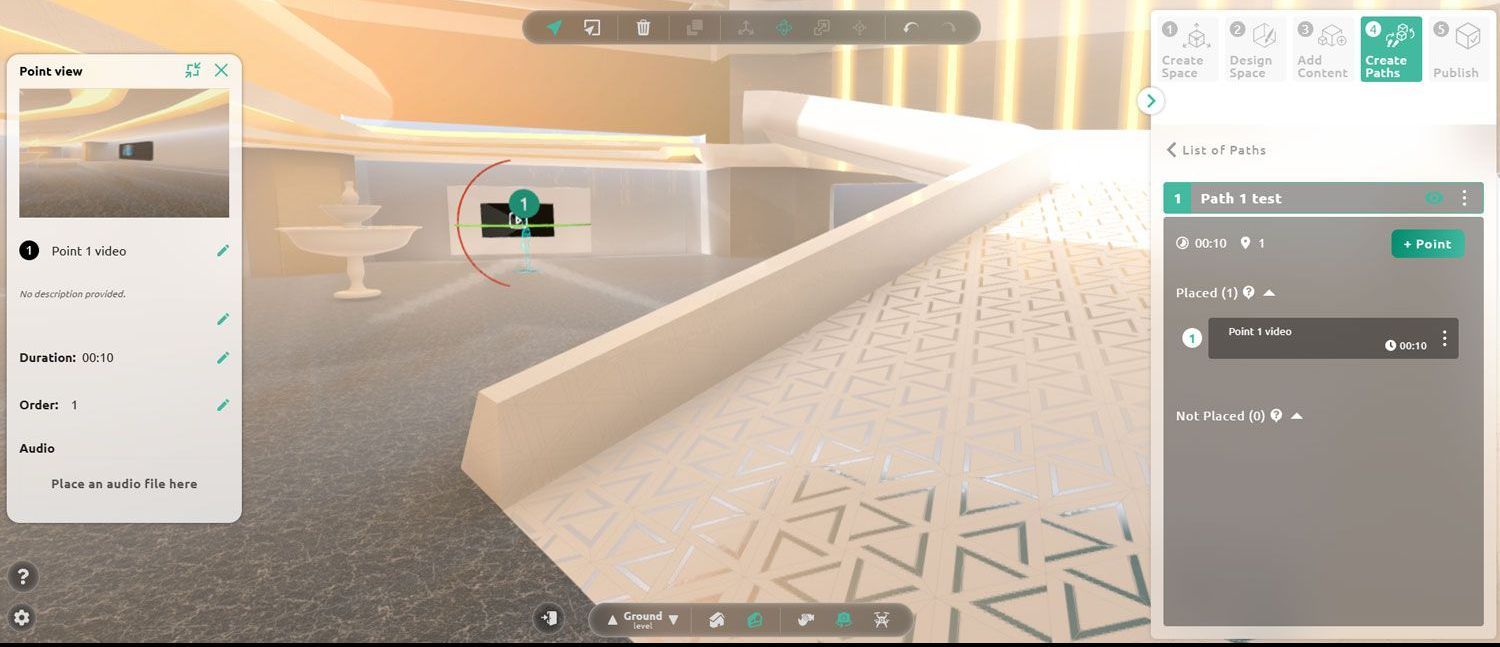
Adjust the angle of the view at each point by rotating the avatar
3. Manage your points
- Points already added to the space will appear in the “Placed” section at the top.
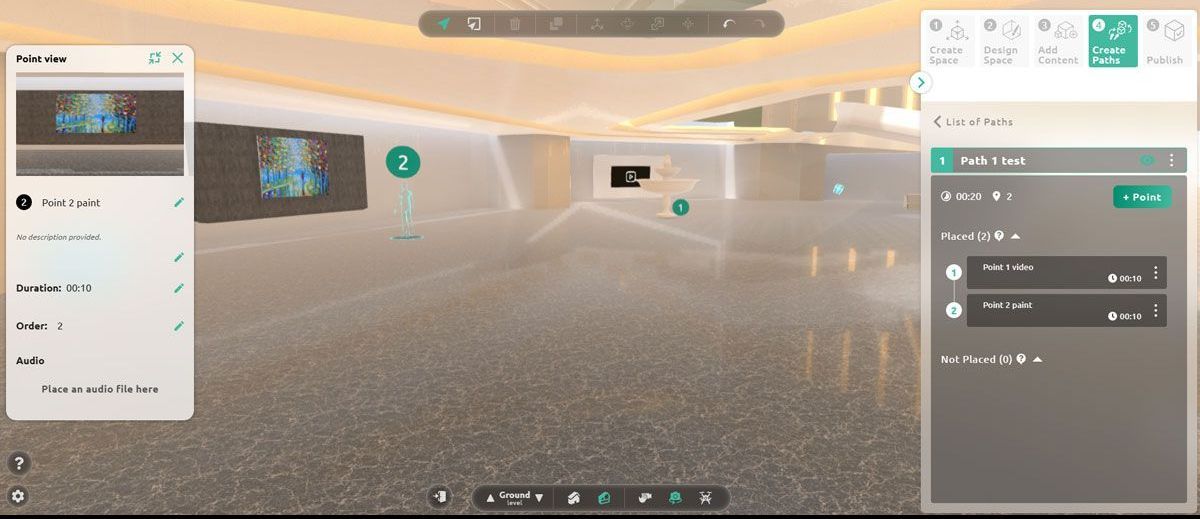
Placed points are showcased at the right and inside the 3D space
- If a point isn’t ready to be placed yet, you can drag and drop it to the “Not Placed” section below. This flexibility lets you fine-tune your journey as needed.
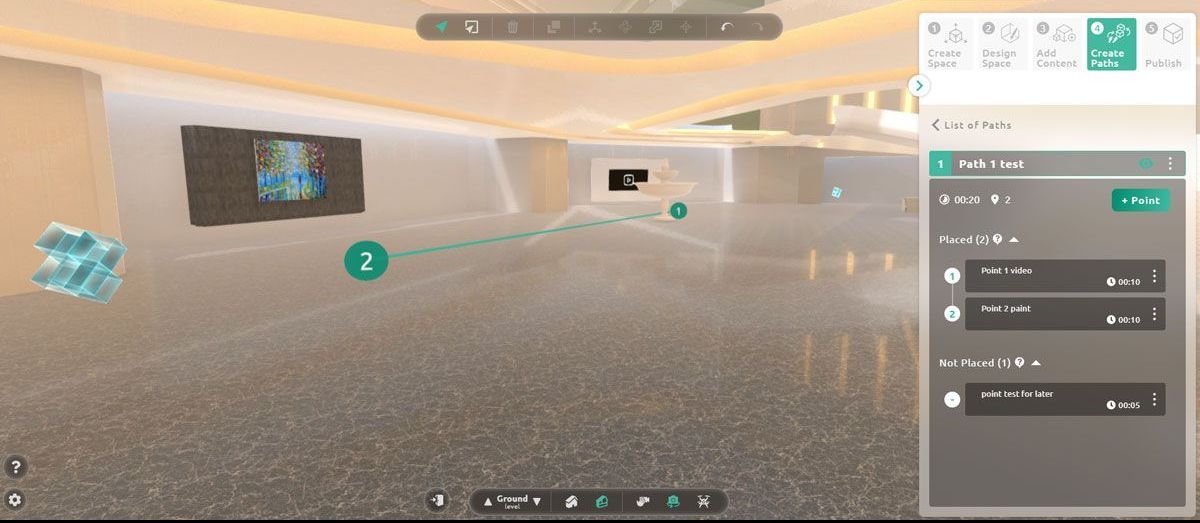
Drag and drop from placed to not-placed the points that are not ready to be used
Ready for the Next Step?
Once you’ve completed your paths, you’re ready to move on to Step 5: Publish Your Space and share your masterpiece with the world. Guided paths are your key to delivering a memorable and interactive experience—start creating today!